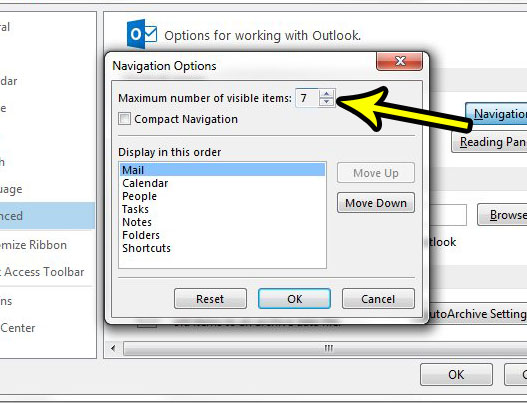
You might be accustomed to clicking the “More” button that is identified by a row of three dots when you need to access a menu option that isn’t visible. However, if you do this often, then you might be able to improve your experience in Outlook 2013 by increasing the number of visible navigation options in this row. Our tutorial below will show you where to go in order to find and adjust that setting.
How to Change the Number of Navigation Tabs at the Bottom of Outlook 2013
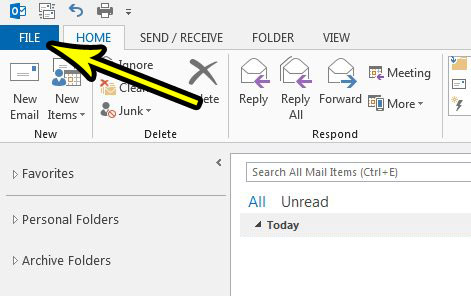
The steps in this article are going to show you how to increase the number of visible options in the navigation row at the bottom of the Outlook 2013 window. Step 1: Open Outlook 2013. Step 2: Click the File tab at the top-left of the window.
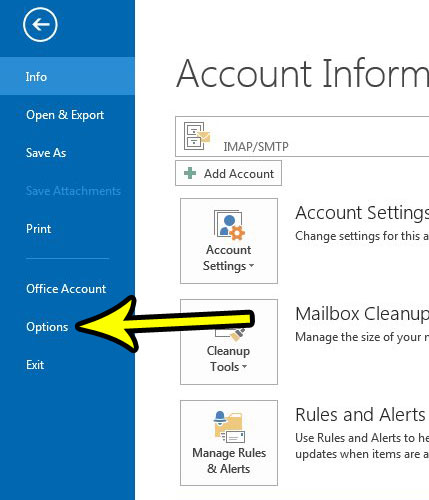
Step 3: Click the Options button to open the Outlook Options menu.
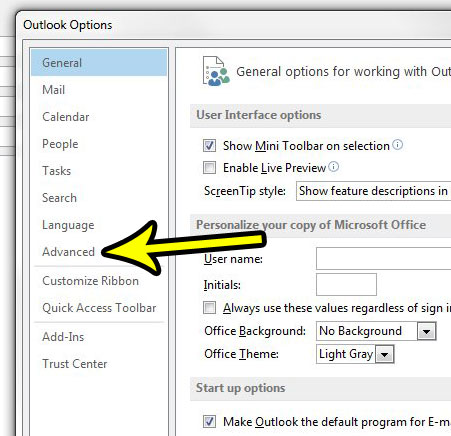
Step 4: Click the Advanced tab at the left of the Outlook Options window.
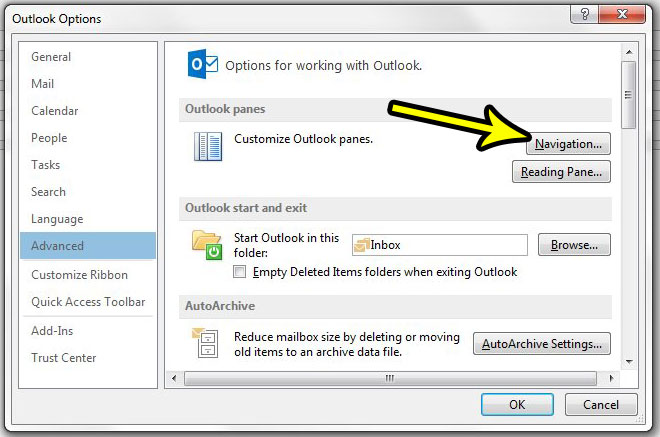
Step 5: Click the Navigation button at the top-right of the window.
Step 6: Adjust the number in the Maximum number of visible items field to select the desired number. Note that you can also click on individual navigation options and change their display order. Once you have finished, click the OK button at the bottom of the window.
Does it seem like you aren’t getting your new emails in Outlook as quickly as you would like? Learn how to send and receive more frequently in Outlook 2013 so that the program is checking your mail server for new messages at a higher frequency. He specializes in writing content about iPhones, Android devices, Microsoft Office, and many other popular applications and devices. Read his full bio here.
