While the amount of space between the lines in your document might not seem important, many organizations have specific requirements for this setting. Our tutorial below will show you how to change double-spaced documents to single-spaced ones by adjusting a setting in the Paragraph group on the ribbon.
How to Switch from Double Spacing to Single Spacing in Word 2013
Our article continues below with additional information on changing the default line spacing. Sections below also include pictures for these steps if you are having difficulty finding some of the settings we discuss. Some documents that you create in Microsoft Word will need double spacing, and some will need single spacing. Depending on your application’s current setting, or the spacing option chosen for an existing document, switching the line spacing can present some challenges, especially if you need to change it for an entire document. Line spacing is also one of the biggest factors that contribute to the length of a document. If you are using double spacing by default, then any document you create can be almost twice the length that it would be if you were using single spacing instead. If the copy of Microsoft Word 2013 on your computer is set to double space by default, then you can adjust this setting to use a different sized line spacing. Follow our short guide below to find out how you can change your default line spacing in Word 2013. The next section outlines how to adjust the default line spacing setting in Word.
How to Get Rid of Default Double Spacing in Word 2013 (Guide with Pictures)
This tutorial will assume that the default line spacing in your copy of Word 2013 is set to double spacing, and that you want to change it to single spacing. If you simply want to change the spacing on an existing document, and do not want to change the default settings, then you can read this article. This can be a good option if your school or place of employment requires double-spacing, but you have a single document that you want to modify.
Step 1: Open Microsoft Word 2013.
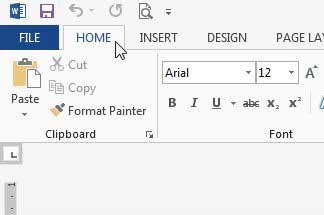
Step 2: Click the Home tab at the top of the window.
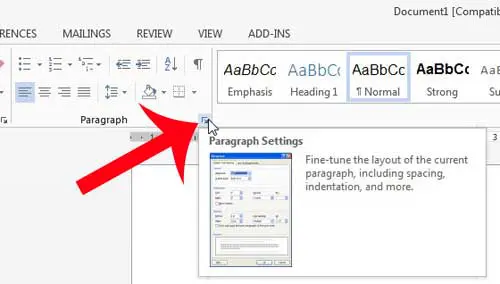
Step 3: Click the small Paragraph Settings button at the bottom-right corner of the Paragraph section of the navigational ribbon.
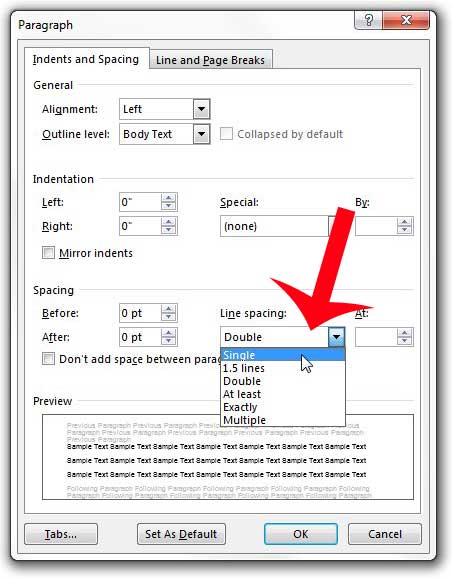
Step 4: Click the drop-down menu under Line spacing, then select the Single option. Note that you can select any other line spacing option that you prefer.
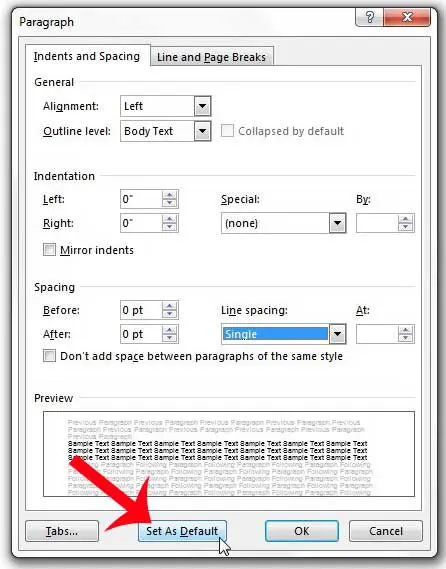
Step 5: Click the Set as Default button at the bottom of the window.
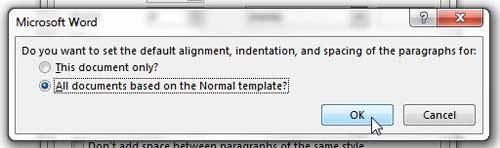
Step 6: Click the button to the left of All documents based on the Normal template, then click the OK button.
Any new document that you create in Word 2013 will now use the line spacing that you just selected.
Summary – How to change default line spacing in Word 2013
If you have an existing document that is double-spaced, and you would like to change it to single spacing, then you can follow the steps in the section below instead.
How to Single Space in Word 2013 (Guide with Pictures)
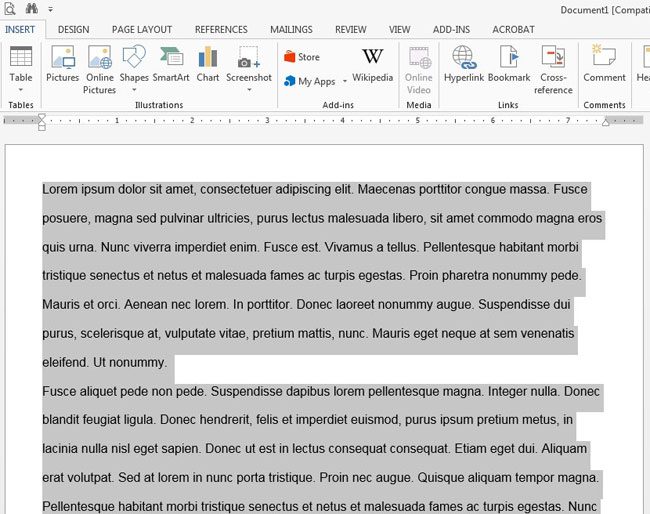
Step 1: Click anywhere inside the document, then press Ctrl + A to select the entire document.
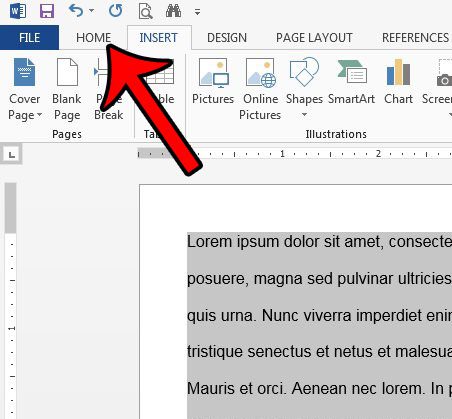
Step 2: Click the Home tab at the top of the window.
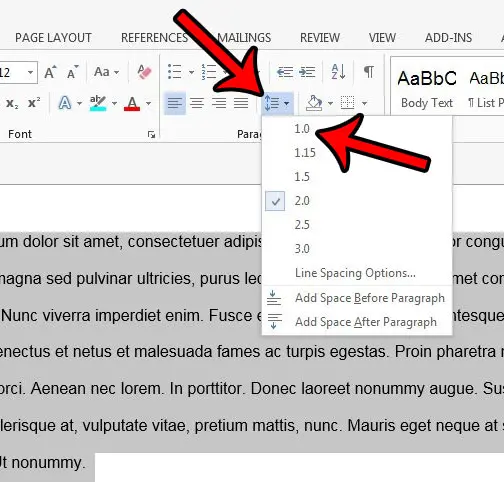
Step 3: Click the Line and Paragraph Spacing button in the Paragraph section of the ribbon, then click the 1.0 option.
Summary – How to remove double spacing in an existing Word document and switch to single spacing
Note that you don’t need to select everything in the document if it’s a blank, new document. You can simply change the setting on the Line and Paragraph spacing menu. Would you like your new documents to save to a different location? Learn how to change the default Word 2013 save location and start saving your documents in the location of your choosing. If you only want to single space part of a document then you can use your mouse to select that part of your Microsoft Word document, then click the Line and Paragraph Spacing icon in the Paragraph group of the ribbon and choose the 1.0 option from the dropdown menu. You can quickly remove double spaces by selecting the double-spaced part of the document (or pressing Ctrl + A to select all the text in the document) then you can click the Home tab, followed by the Paragraph and Line Spacing button and choosing the 1.0 option. This can be tricky to find, because it involves clicking on a small icon that you may not even realize is clickable. If you select the Home tab at the top of the window, you can then look for the Paragraph group on the ribbon. At the bottom-right corner of that section is a small button that looks like a square with a diagonal arrow on it. Click that button to open the Paragraph dialog box. It won’t change any of the settings for documents that you have previously created, nor will it change the settings for documents that other people share with you. After receiving his Bachelor’s and Master’s degrees in Computer Science he spent several years working in IT management for small businesses. However, he now works full time writing content online and creating websites. His main writing topics include iPhones, Microsoft Office, Google Apps, Android, and Photoshop, but he has also written about many other tech topics as well. Read his full bio here.
You may opt out at any time. Read our Privacy Policy